Embedding DeepSeek-v3 into JetBrains Rider and VS Code
A quick walkthrough on embedding deepseek-v3 into JetBrain Rider and VS Code
Disclaimer
I am not associated with DeepSeek or JetBrains in any way, this post is just an experience share
While DeepSeek performs incredibly good at code and math criteria. it fell short for some general non-programming tasks, ChatGPT still has it’s cut, however, DeepSeek has become my daily driver for programming instead of GitHub Copilot
DeepSeek fundamentally is a Chinese enterprise, so the privacy policy, data collection policy and EULA might operate differently than Non-Chinese companies
Update at 2025-02-10: Deepseek no longer accept new API charges due to high demand and the performance is not as good as before, so the first part of this article is outdated. Audience can seek for other providers like SiliconFlow API (Also a chinese company btw), NVIDIA NIM API, Azure API, etc. The rest of the article still applies, just replace with your API endpoint and API Key from a trustworthy provider.
Introduction
High-flyer, a chinese AI company has released the latest model of deepseek - DeepSeek-V3 a few days ago that quickly became popular among developers. It provides SOTA performance on coding and math tasks, with extremely cheap pricing. The model is available on HuggingFace with it’s benchmark, as well as general web access through deepseek chat. But for developers, the most convenient way to use it is embedding it into our IDEs, such as JetBrains Rider and VS Code, just like GitHub Copilot. In this post we will cover the API accessing and embedding process.
Based on the methods of registering, there might be a one-time 10 CNY granted to your account, which is enough for around 5 million tokens.
API Acquiring
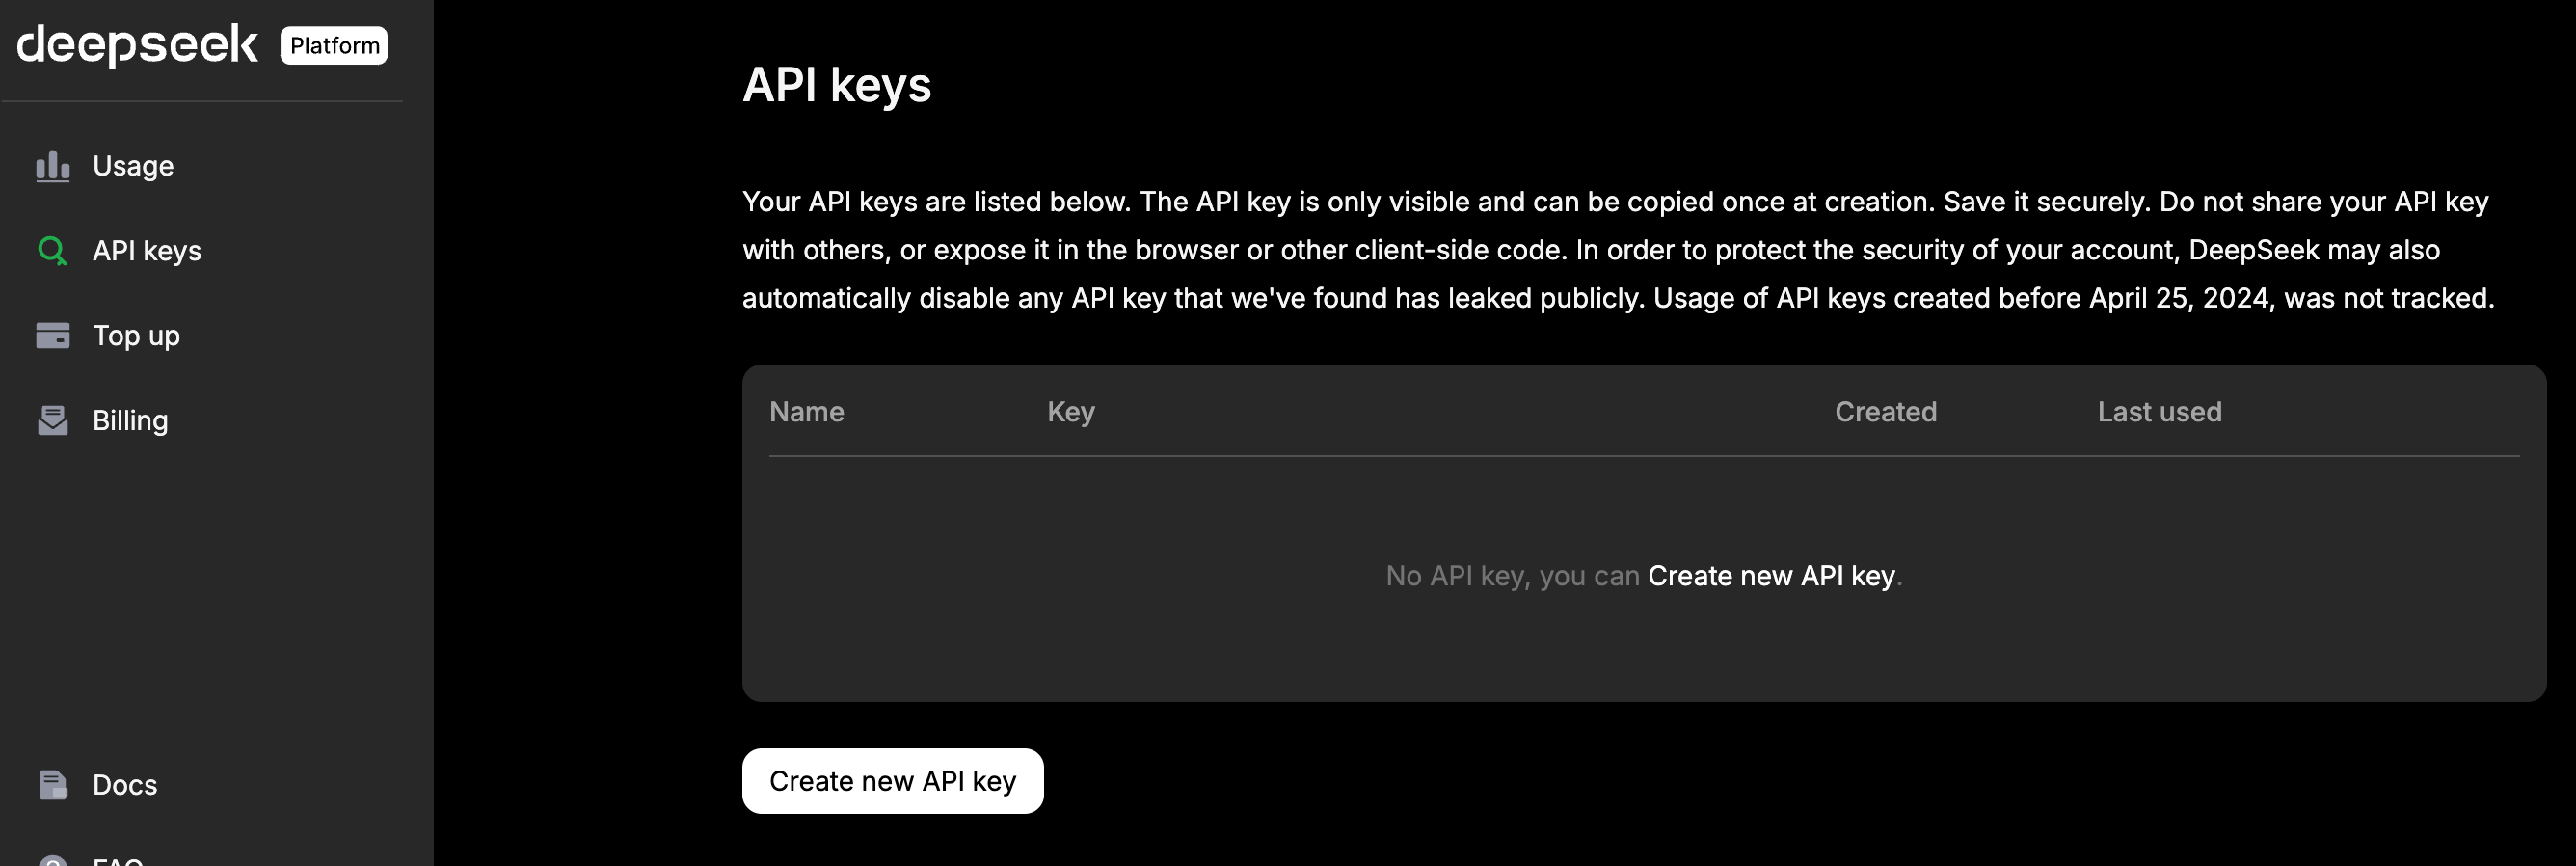
- Head over to deepseek developer, and register an account
- Create a new API
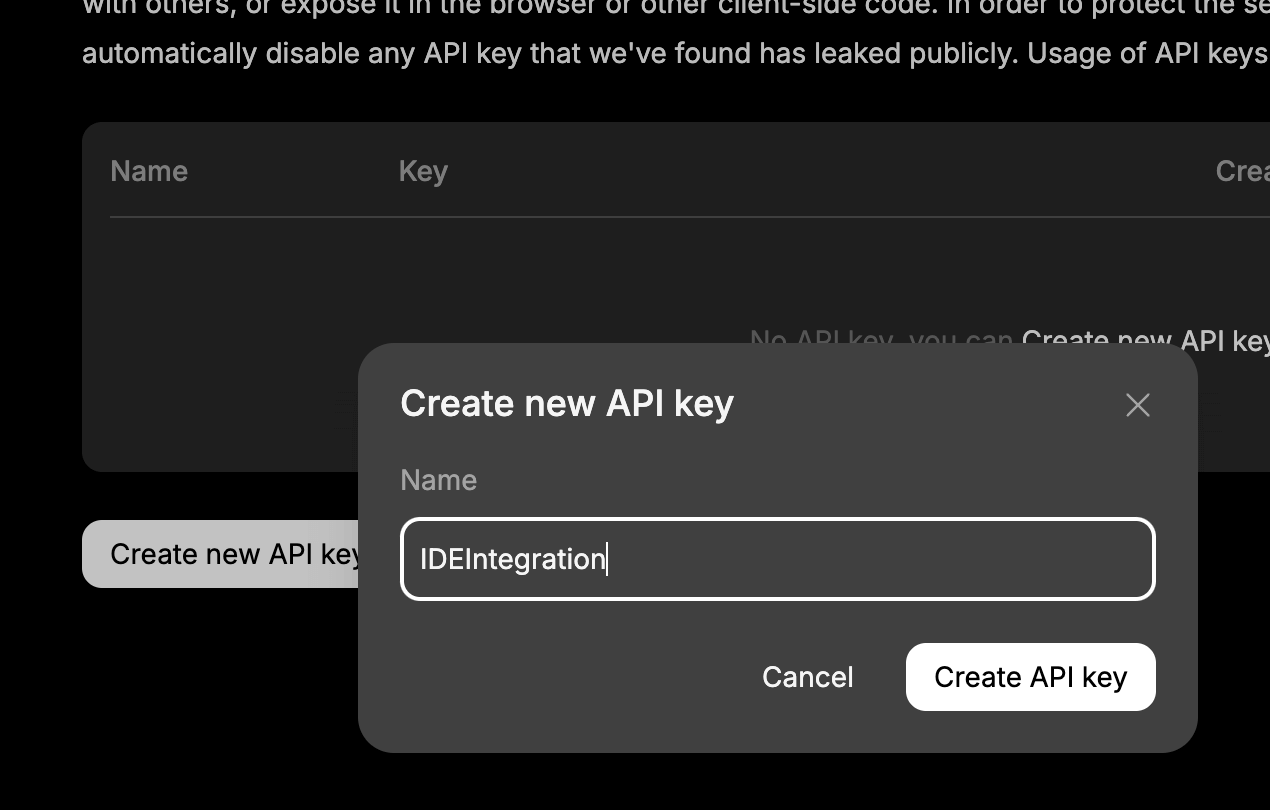
- Give it a name
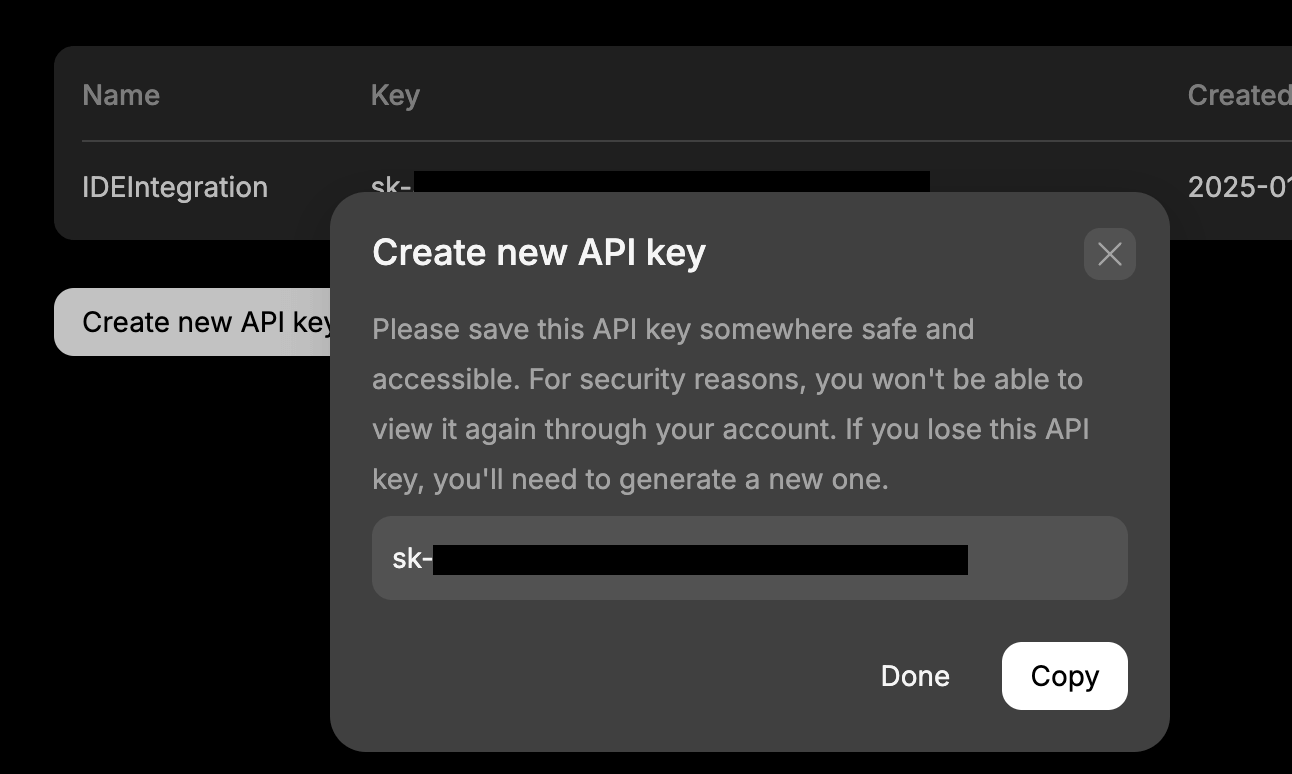
- Copy the API now! (We can’t copy it later after the window closed)
Plugin Installation
There are various plugins available for JetBrains Rider and VS Code that can be used for code auto completion and chat. The most popular options are CodeGPT and Continue plugin. However, Continue doesn’t have a very high rating on Rider, and CodeGPT doesn’t have a very easy to use interface for VS Code, so we are going to use CodeGPT for Rider and Continue for VS Code.
JetBrains Rider (CodeGPT)
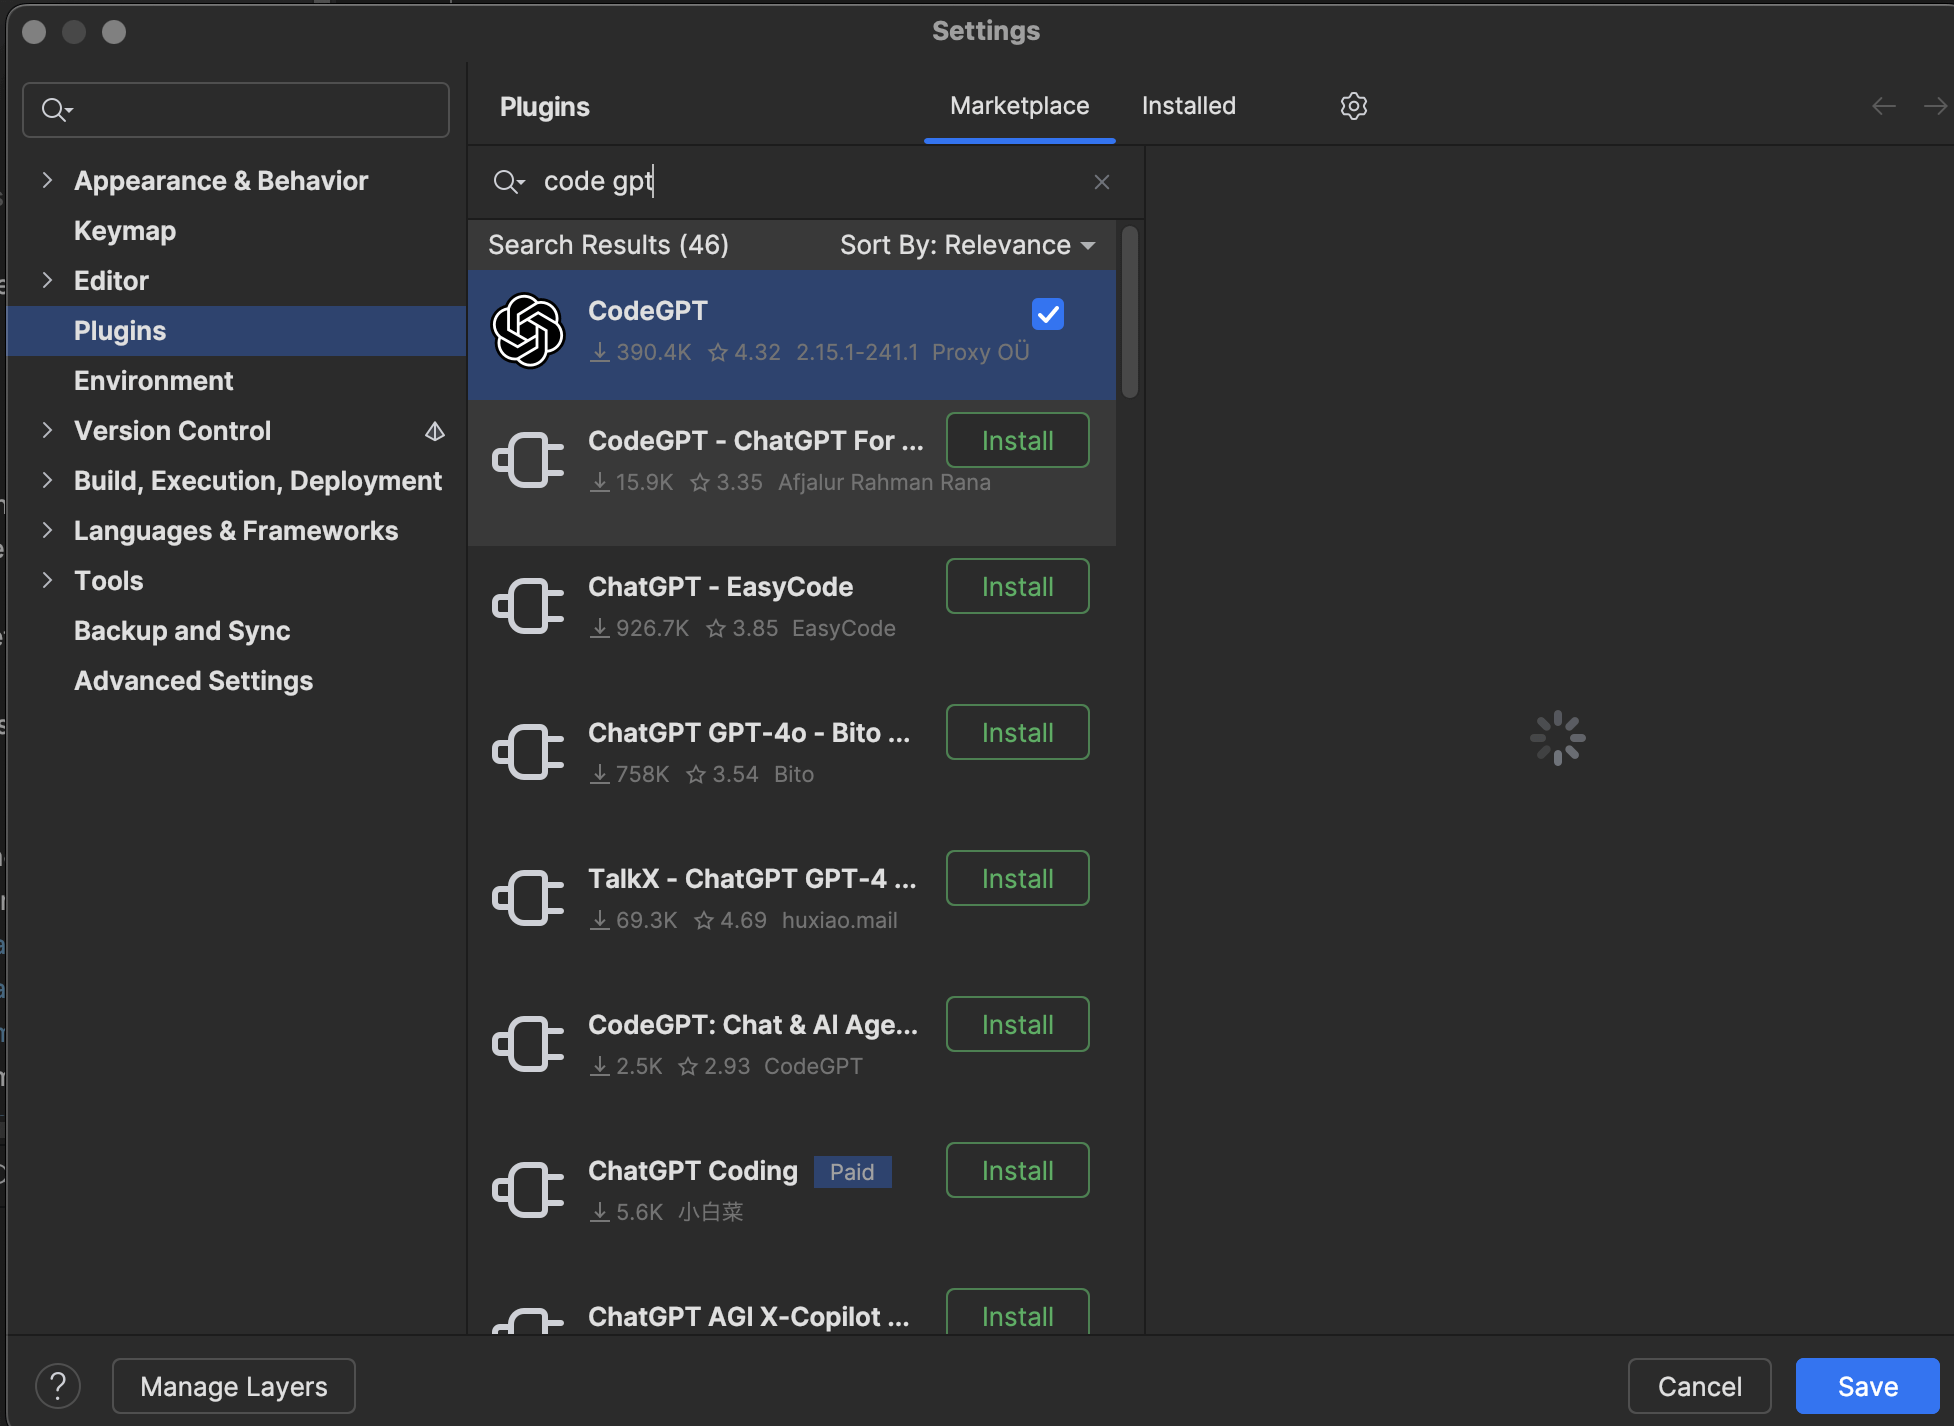
- Open Rider and go to
File->Settings->Plugins->Marketplace. - Search for
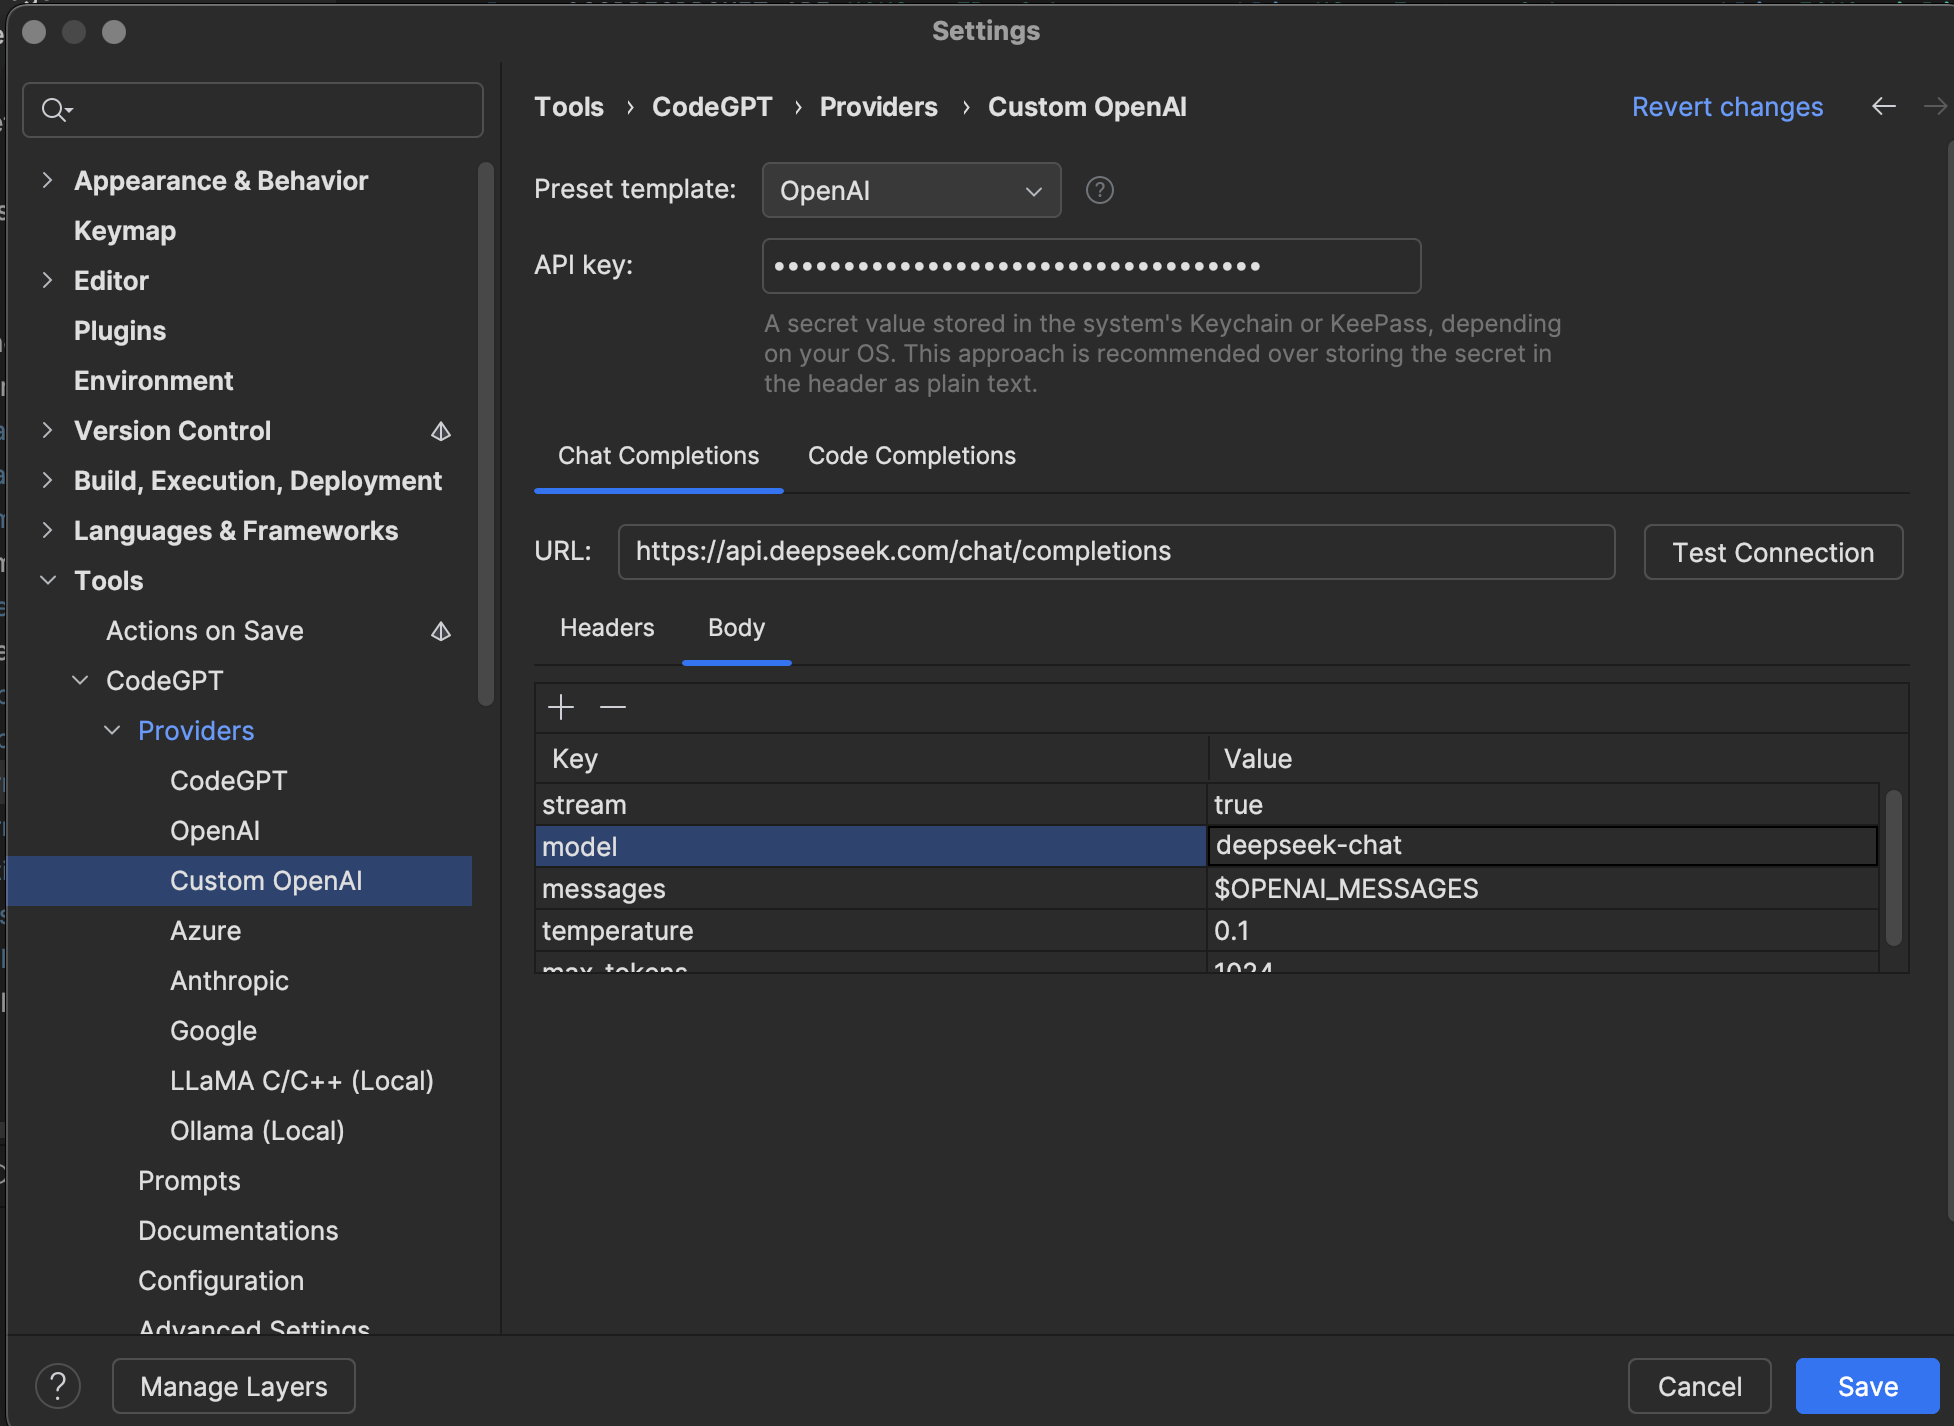
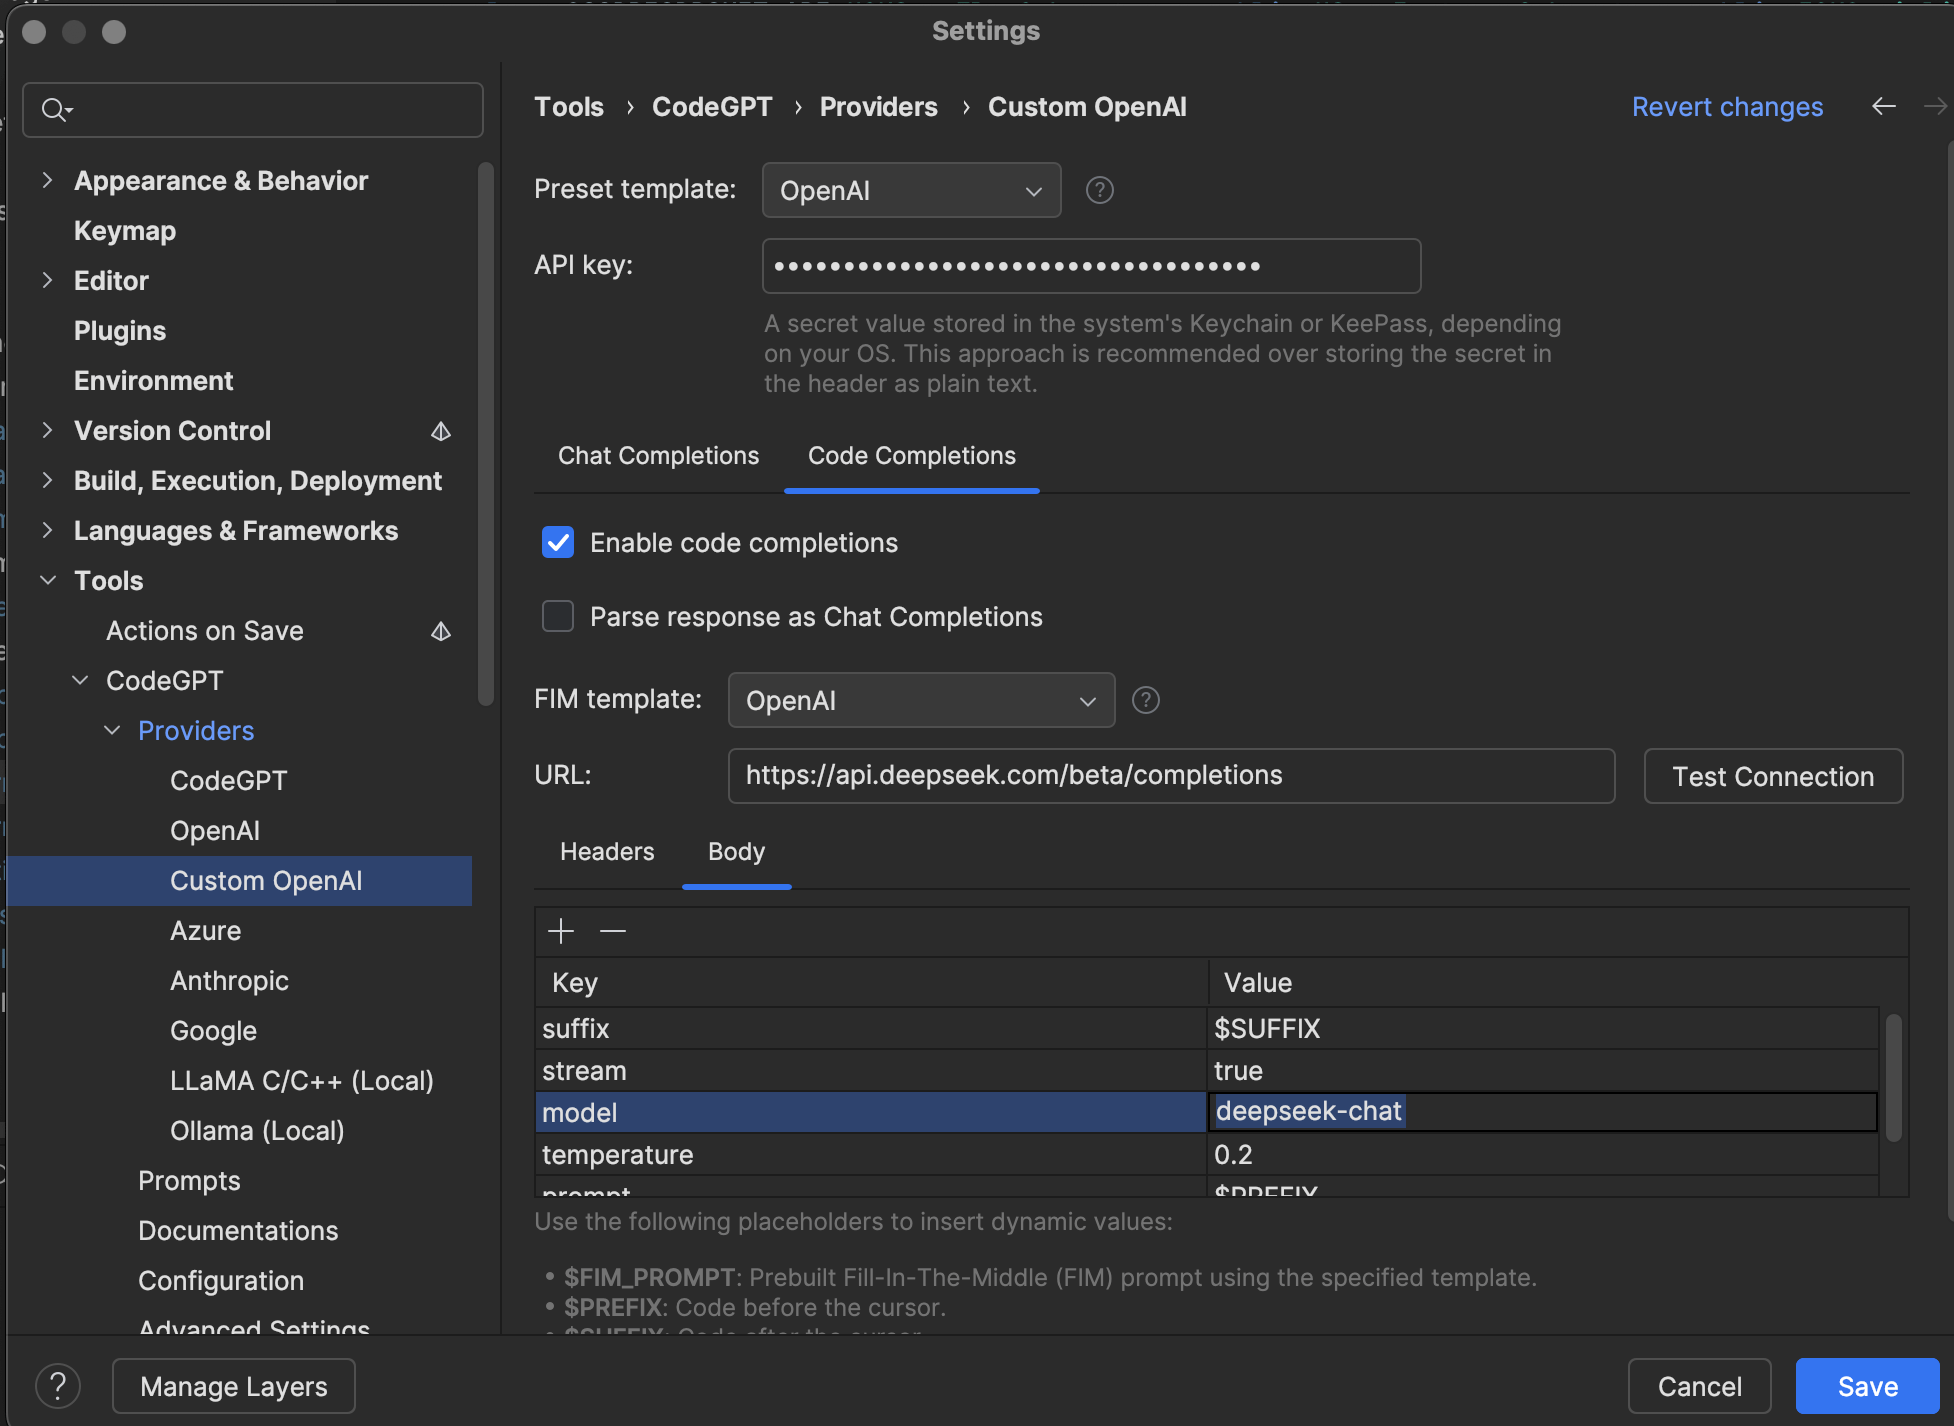
CodeGPTand install it. - Restart Rider, then let’s go to settings of the plugin, there’re two things we need to change, the setting is located
CodeGPT - Provider - Custom OpenAI- Make sure the API key is set to the one we copied earlier.
- Set corresponding post url for chat
- Set corresponding post url for code completion
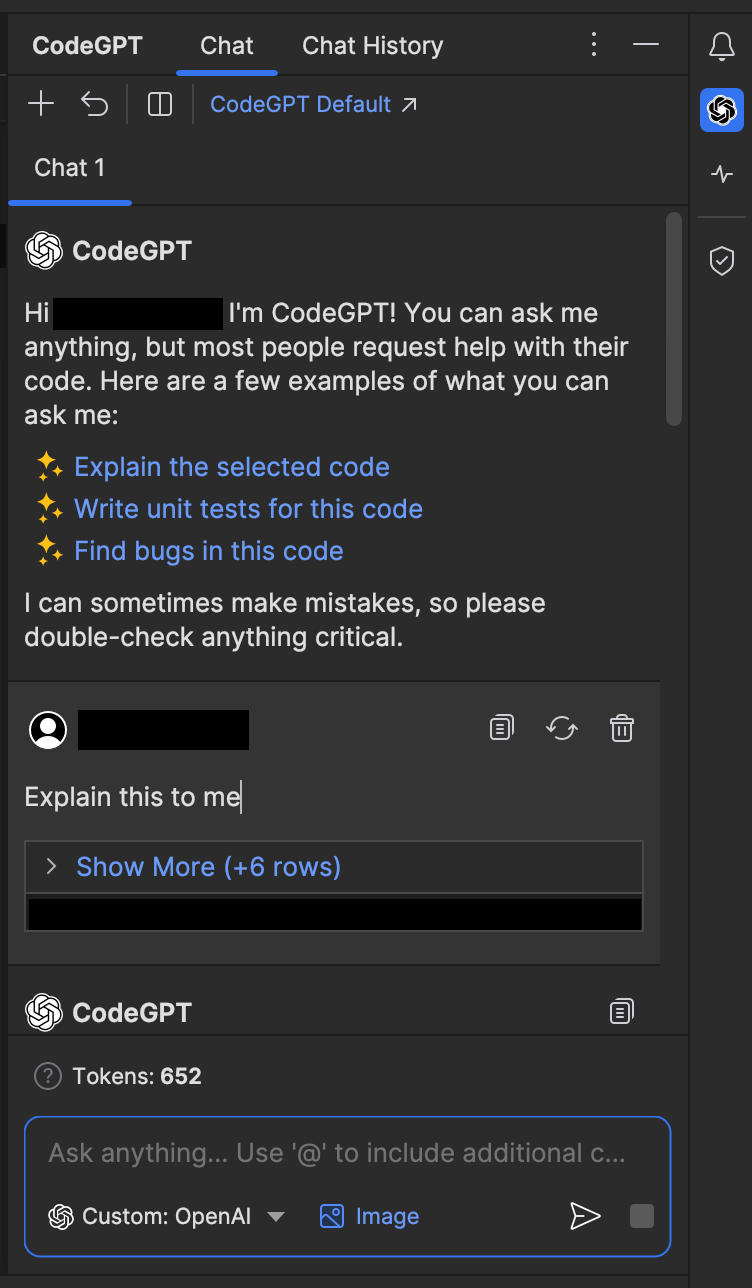
- Code completion should work right away, for chat, make sure the provider at the bottom is set to
Custom OpenAI
VS Code (Continue)
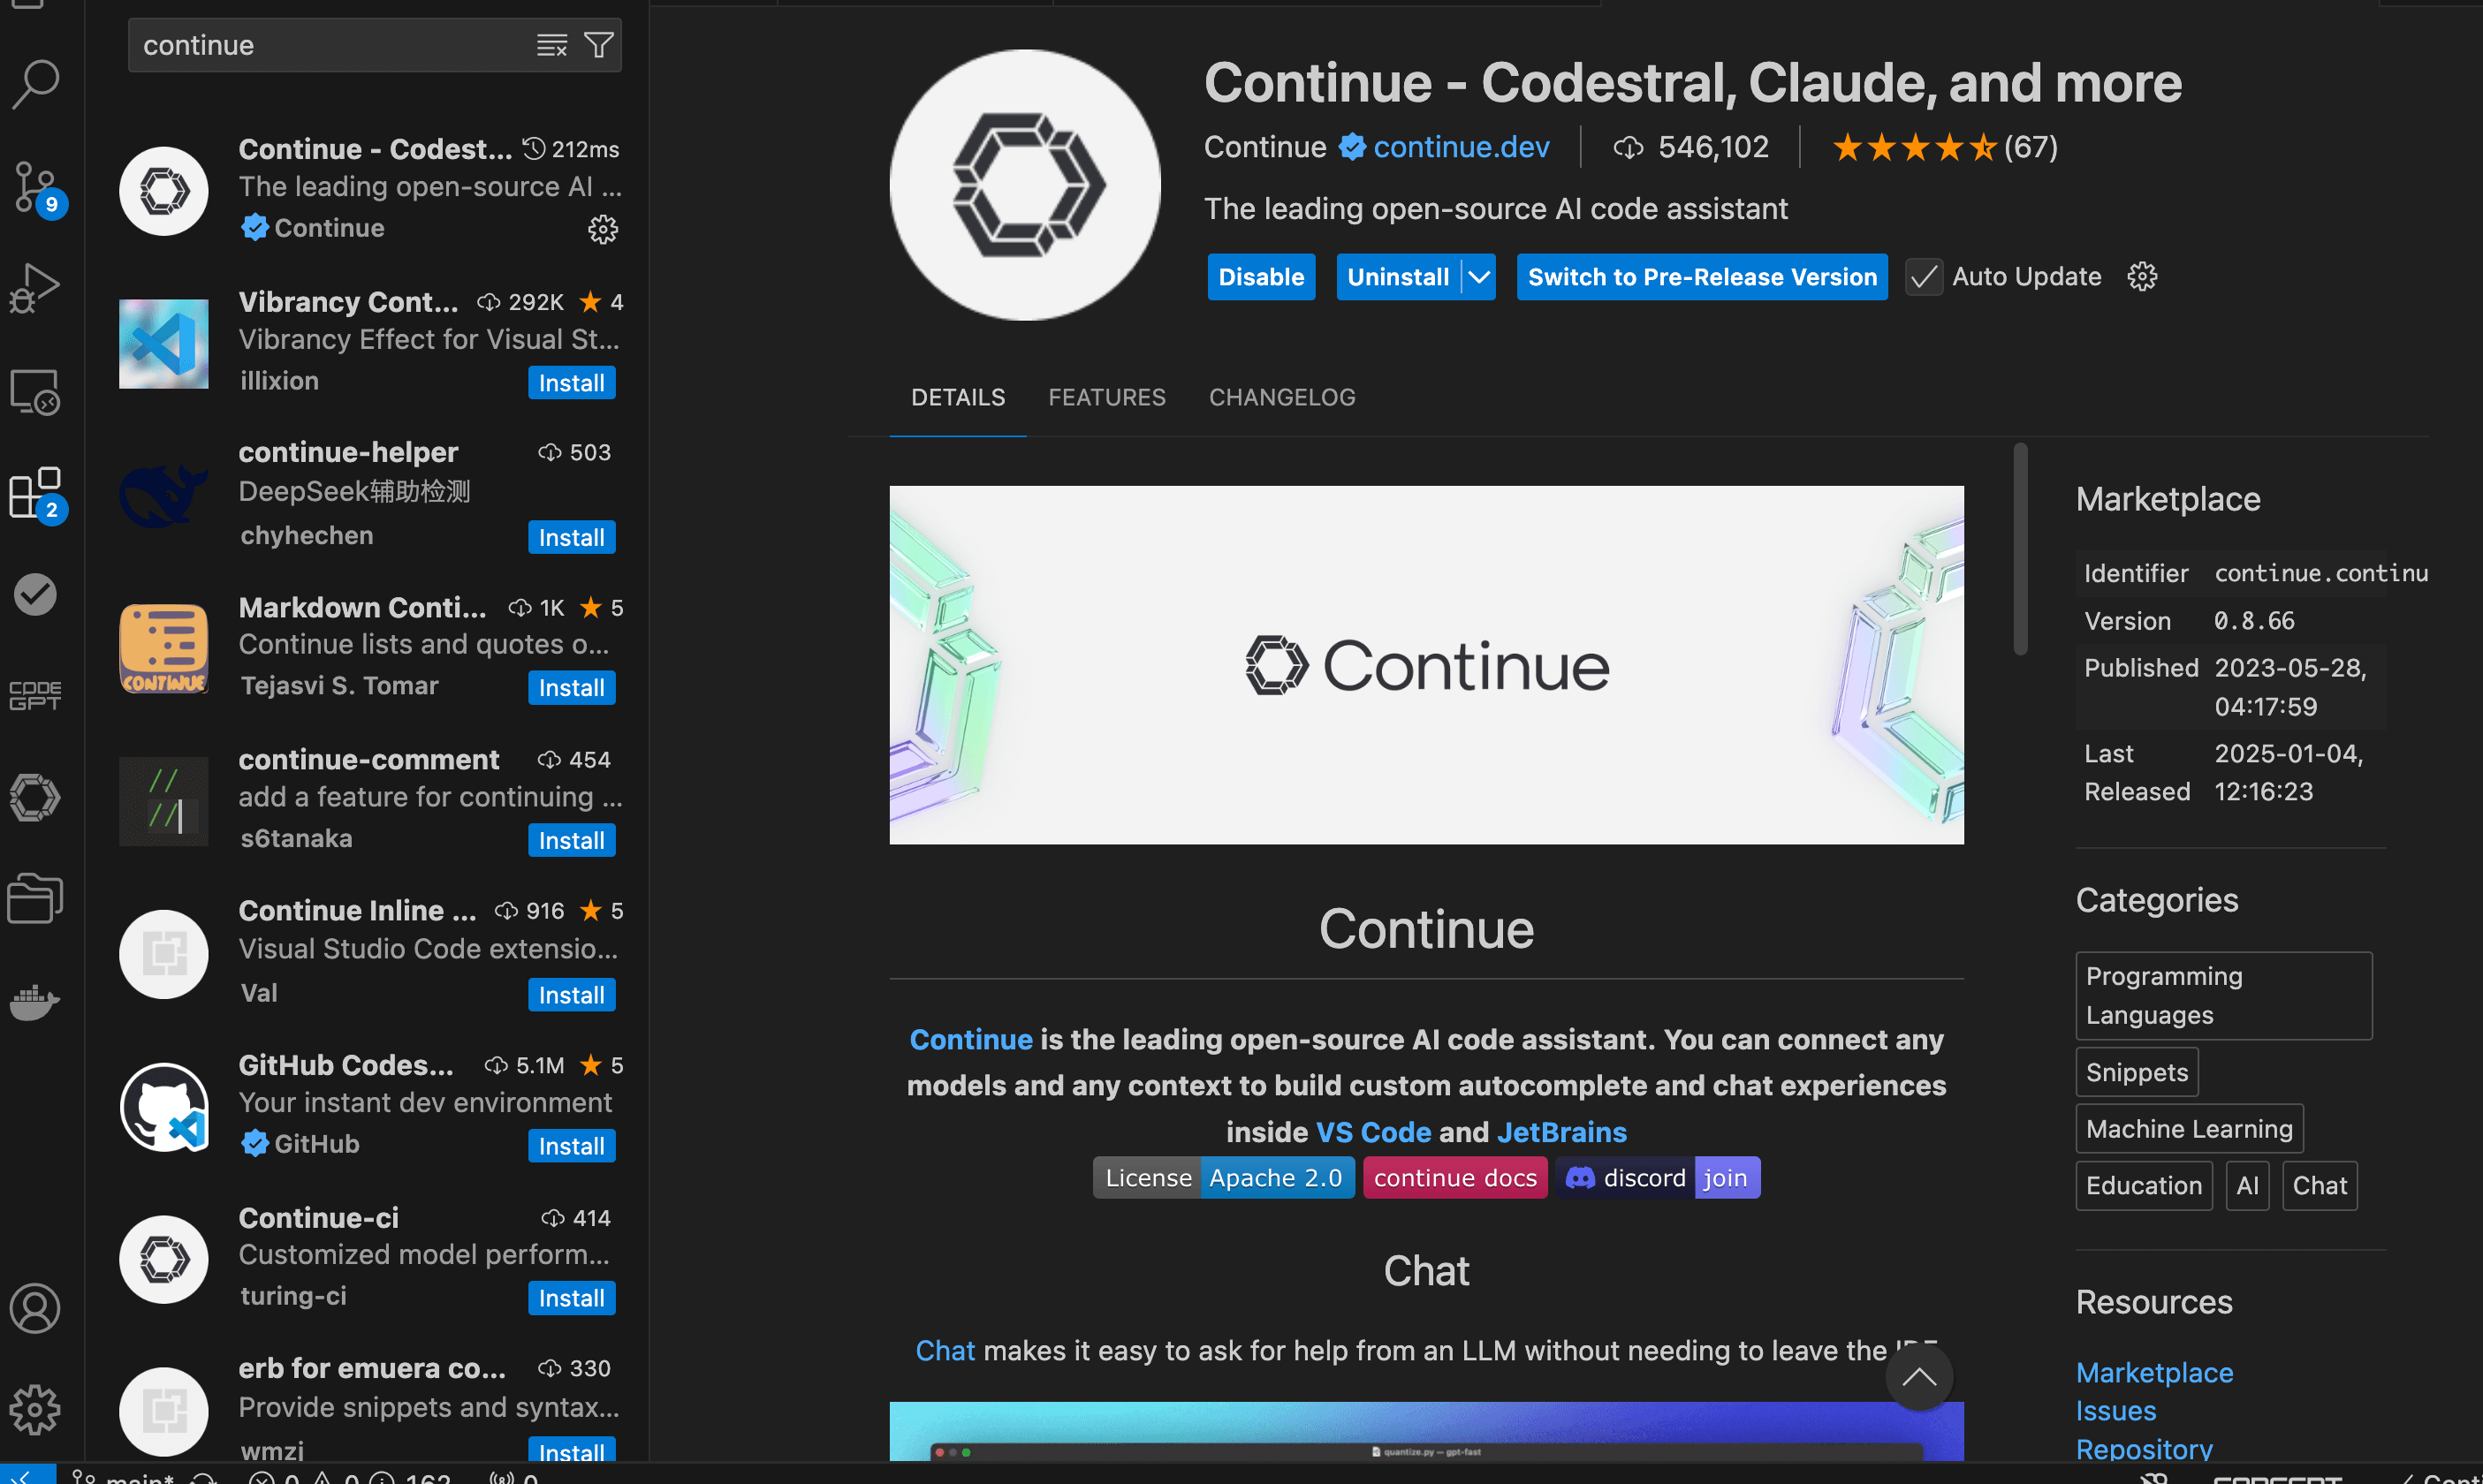
- Open VS Code and go to
Extensionstab. - Search for
Continueand install it. - Restart VS Code and you will see a new tab on the left side of the IDE.
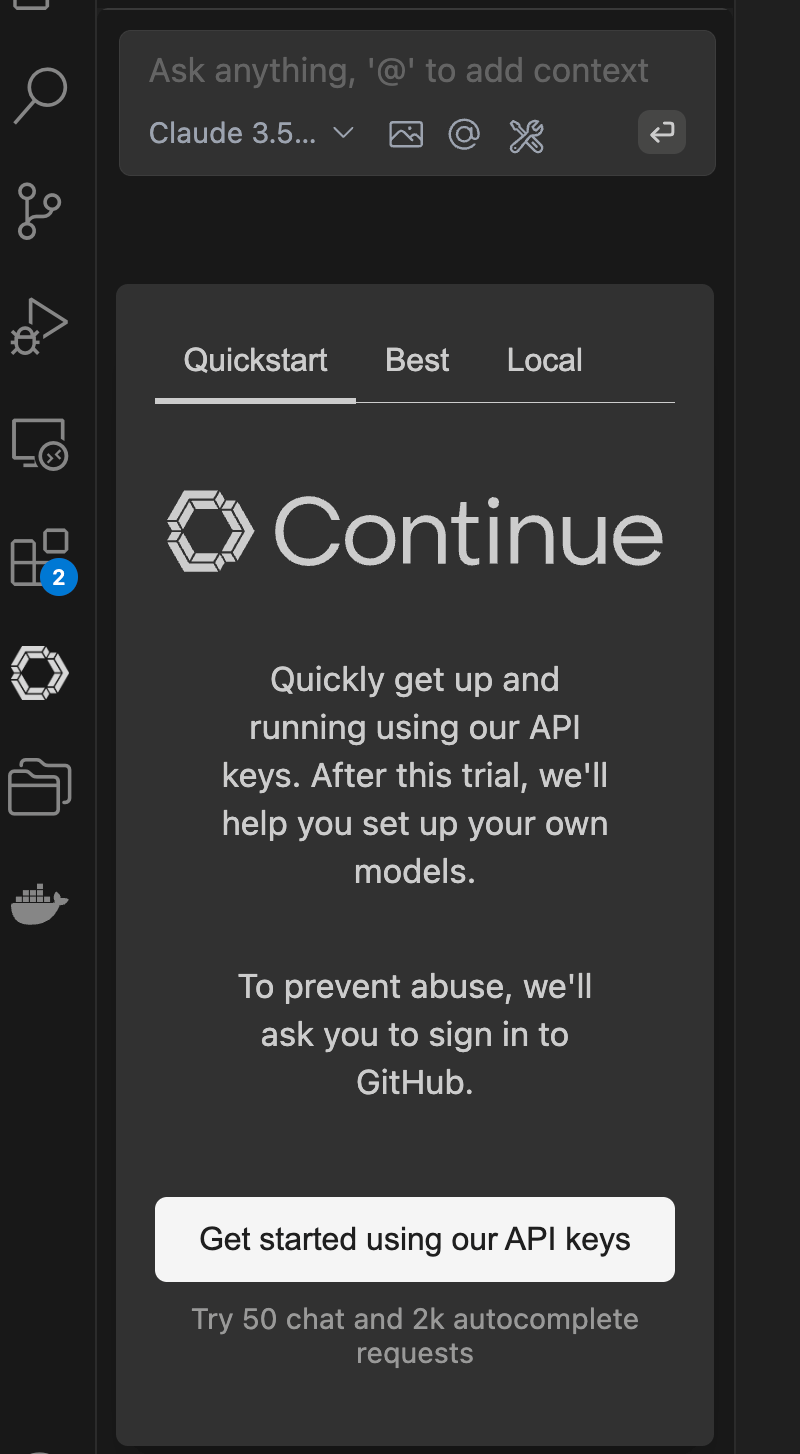
- Click on the
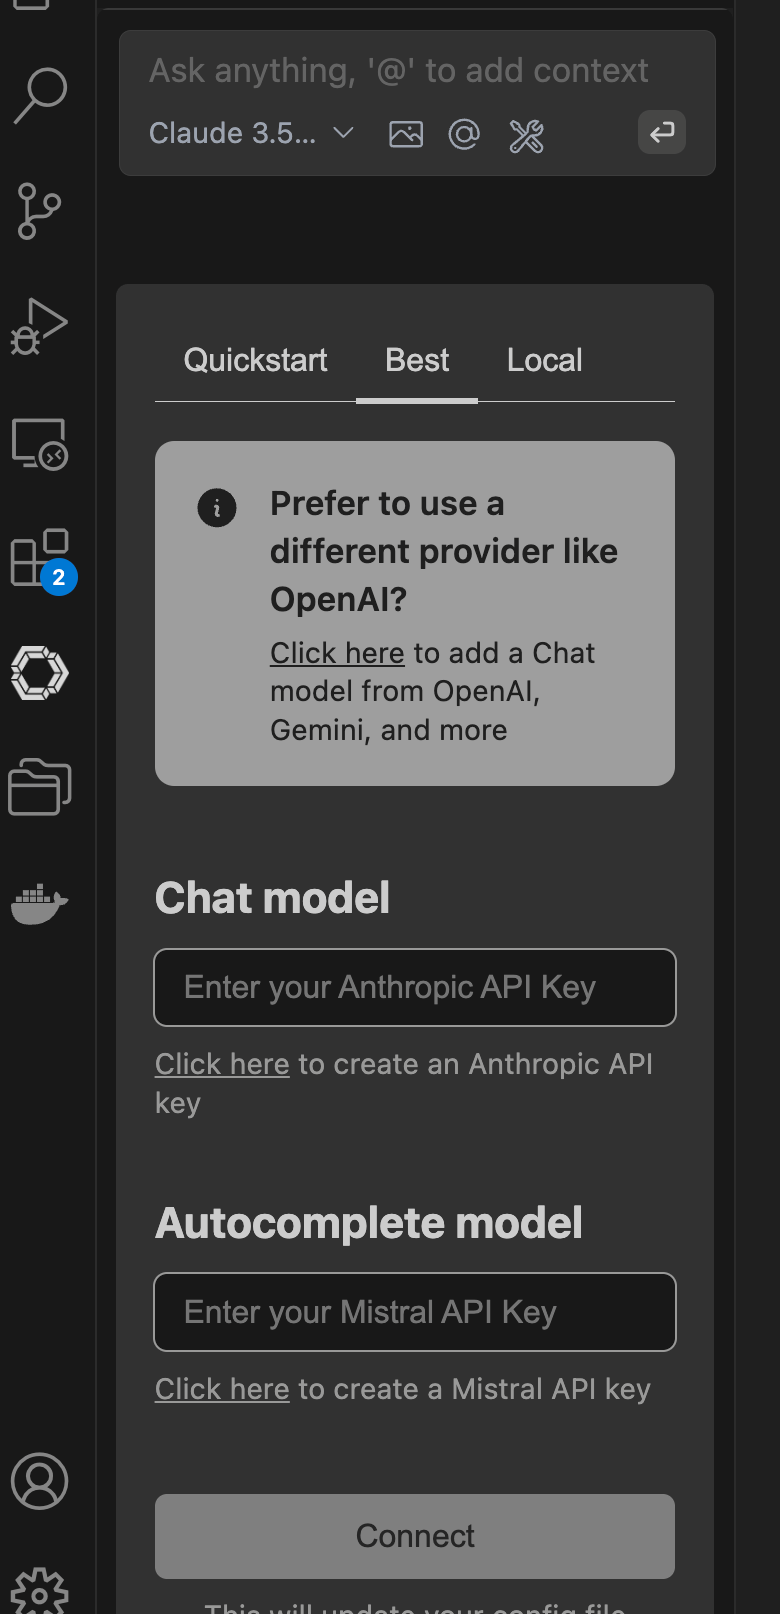
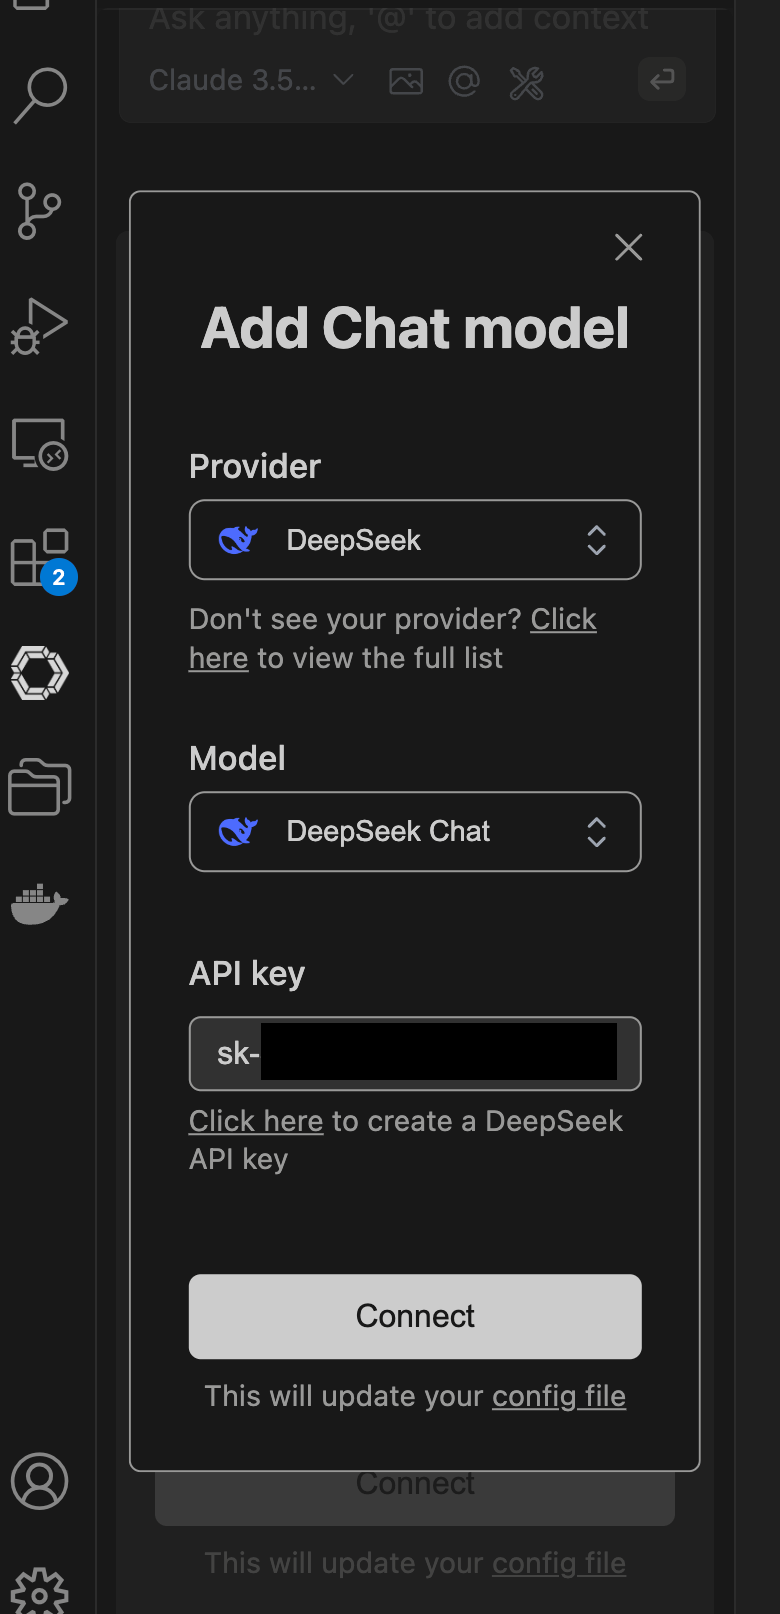
Continuetab and you will see a chat interface. - We will need to select a custom provider, in this case, deepseek. So we click the “Best” tab, and “Click Here”
- Fill in DeepSeek as provider, and DeepSeek API key as the API key.
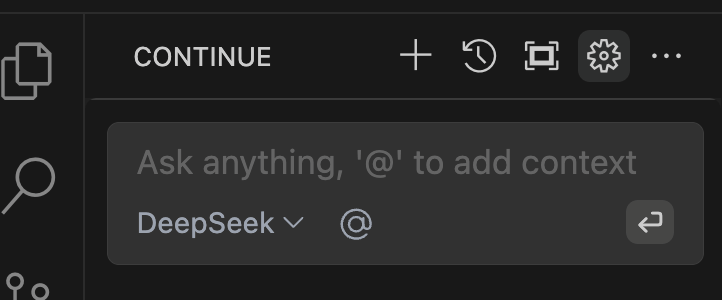
- Finally, we can confirm our settings, by clicking the small “Gear” icon at the chat bar
- This will open a
config.jsonfile, and it should look like the following:
1
2
3
4
5
6
7
8
9
10
11
12
13
14
15
16
17
18
19
20
21
22
23
24
25
26
27
28
29
30
31
32
33
34
35
36
37
38
39
40
41
42
43
44
45
46
47
48
49
50
51
52
53
54
55
56
57
58
59
60
61
62
63
64
{
  "completionOptions": {
    "BaseCompletionOptions": {
      "temperature": 0,
      "maxTokens": 256
    }
  },
  "models": [
    {
      "title": "DeepSeek Chat",
      "model": "deepseek-chat", //change to corresponding model name for other providers
      "contextLength": 128000,
      "apiKey": "REDACTED",
      "provider": "deepseek", //change to openai for other providers
      "apiBase": "https://api.deepseek.com" //change to corresponding API base for other providers, e.g https://api.siliconflow.cn
    }
  ],
  "tabAutocompleteModel": {
    "title": "DeepSeek Coder",
    "model": "deepseek-coder", //change to corresponding model name for other providers
    "apiKey": "REDACTED",
    "provider": "deepseek", //change to openai for other providers
    "apiBase": "https://api.deepseek.com/beta" //change to corresponding API base for other providers, e.g https://api.siliconflow.cn
  },
  "slashCommands": [
    {
      "name": "edit",
      "description": "Edit highlighted code"
    },
    {
      "name": "comment",
      "description": "Write comments for the highlighted code"
    },
    {
      "name": "share",
      "description": "Export the current chat session to markdown"
    },
    {
      "name": "cmd",
      "description": "Generate a shell command"
    }
  ],
  "customCommands": [
    {
      "name": "test",
      "prompt": "}\n\nWrite a comprehensive set of unit tests for the selected code. It should setup, run tests that check for correctness including important edge cases, and teardown. Ensure that the tests are complete and sophisticated. Give the tests just as chat output, don't edit any file.",
      "description": "Write unit tests for highlighted code"
    }
  ],
  "contextProviders": [
    {
      "name": "diff",
      "params": {}
    },
    {
      "name": "open",
      "params": {}
    },
    {
      "name": "terminal",
      "params": {}
    }
  ]
}
Pricing
Now we can enjoy the DeepSeek’s power with extremely cheap quota, this post itself is largely written by auto-completion feature as well. It took about 380,000 tokens, and costs 0.25 CNY (0.034 USD). Which is about 0.65 CNY (or 0.089 USD)/Million Tokens, in comparison, as the time of writing, OpenAI 4O API charges 2.5 USD/Million Tokens. (28x cheaper)
